In the time when we are staying at home, small local business for a T-shirt or other transfer printing job is a great idea.
It looks like this:
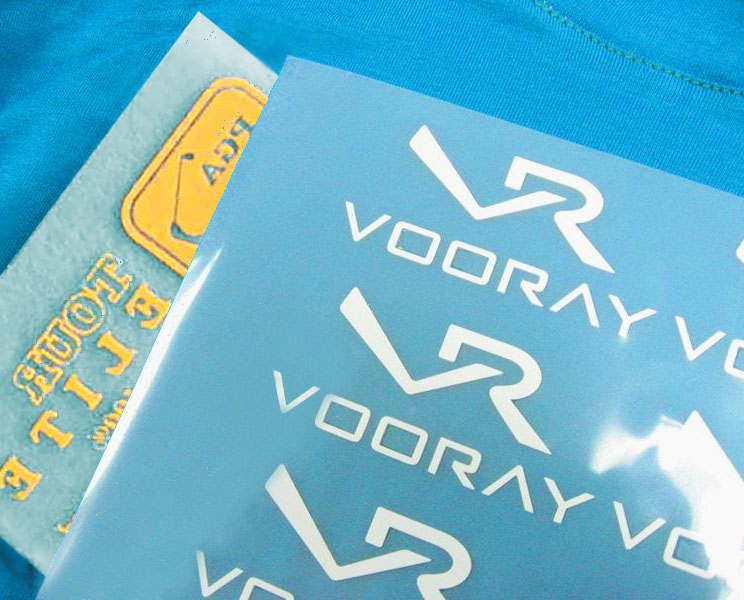 Heat is applied to transfer the printed image from the paper/ film/ onto the substrate – mainly textile, but also rigid materials like wood, laminated panels, MDF, leather, soft rubber footwear material, non-wovens, etc.
Transfer print production on a sheet of release film or paper is known for a long time. Alternatively to the traditional screen printing only, there are digital-screen printing methods which eliminate the clumsy 4-colour screen preparation.
Still, the white ink has to be screen-printed, together with the fixing layer of glue. Often the problem comes from not having screen-printing facilities. Therefore, many endeavors stop here.
The simple solution for beginners
Alternatively, to do this at home using limited equipment appears to be an attractive possibility.
With little handy skills, you can even avoid the need for a screen for printing the white base.
Look how:
Printing a heat transfer
Print the 4-colour image on the special release paper/film/ using a laser printer.
Prepare the image shape vector file.
Cut the vector shape using either laser – for water resistant media / for example PET film, or cutting plotter – for PVC film.
Fix the pre-cut shape exactly over the CMYK image. The end contours have to match.
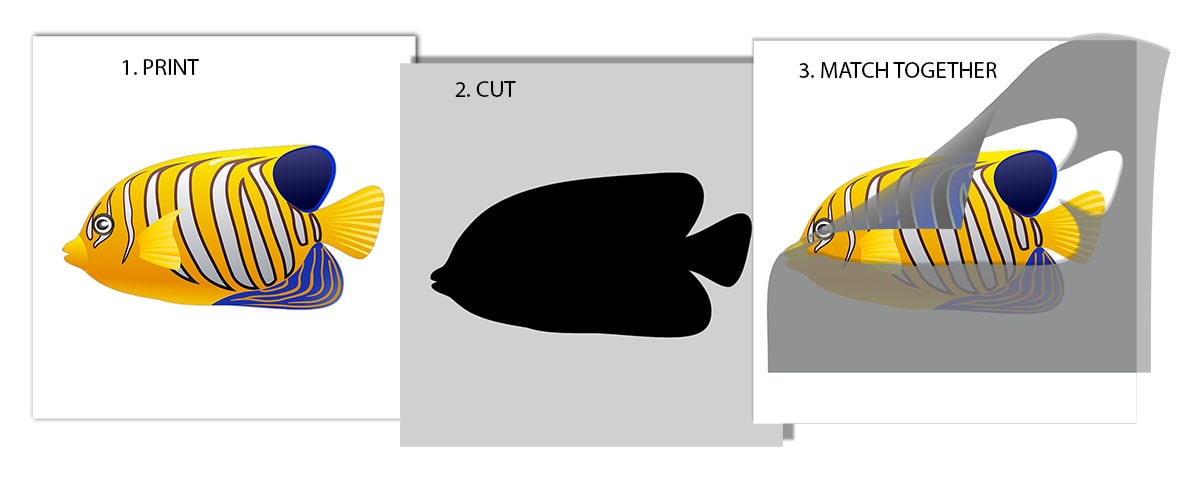
Place the so overlapped sheets under the screen frame and screen print the white.
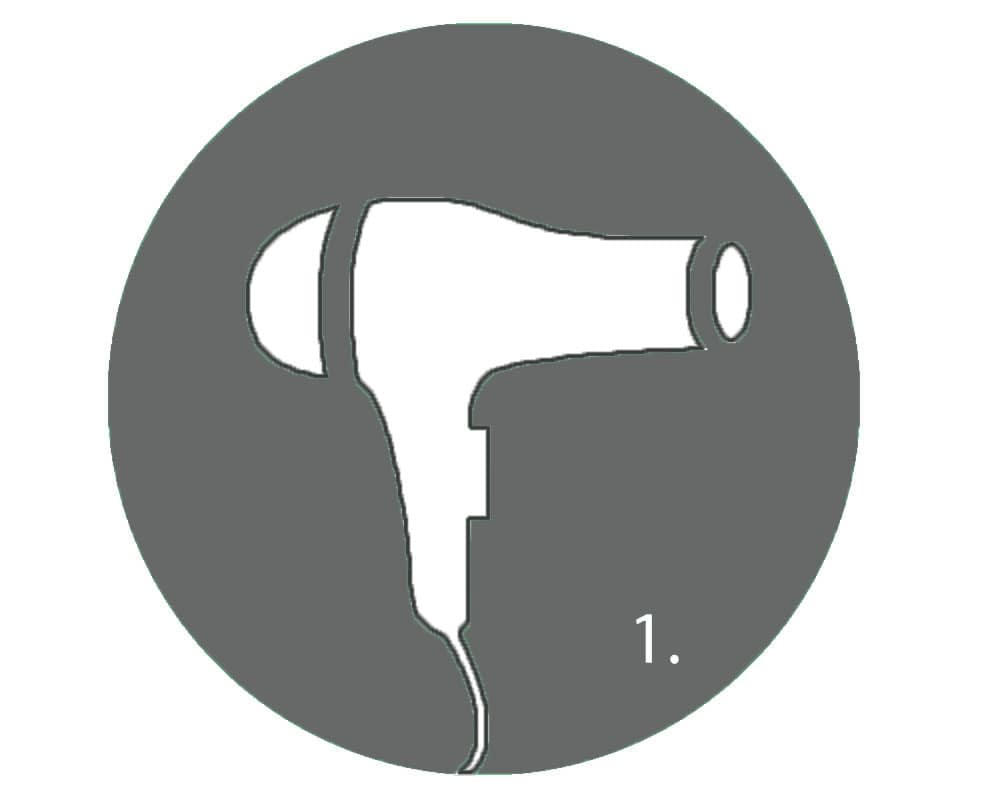
Apply liquid or powder glue and dry.
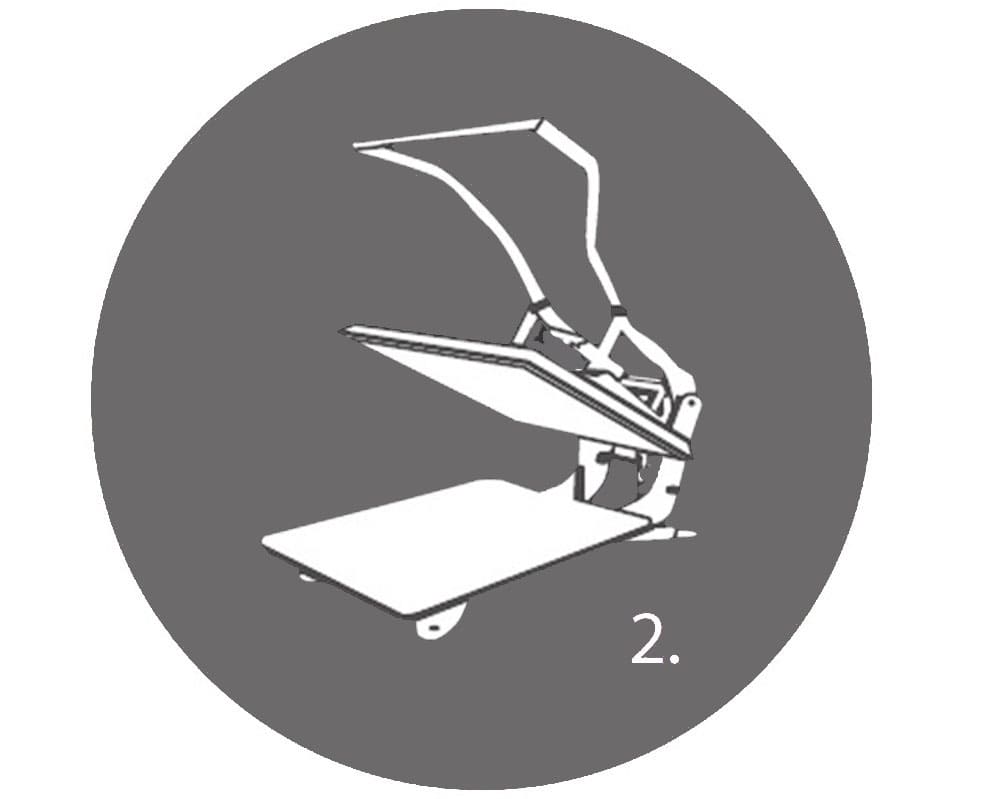
The heat transfer is ready to be applied onto its final surface, T-shirt, or other.
Check these two videos and make a working screen printing model for yourself.
1 One-time screen stencil:
2. Mutiple use screen stencil /Here you can consider machine cutting out of water resistant material, a lot more simple and accurate!/:
Heat transfer printing process types comparison |
||
1. Traditional screen printing |
2. Profi digital-screen printing /DST/ |
3. Simple digital-screen printing |
| 1.1. Prepare CYAN screen | 2.1. Print CMYK image digitally on a recommended laser printer | 3.1. Print CMYK image digitally on a laser printer |
| 1.2. Dry | 2.2. Print digitally the image underbase in pure black on translucent paper/ film | 3.2. Laser-cut the image base /usually vector with the image shape/ on a dimension and moist stable film /or use removable pvc foil for plotter cuttung/.* |
| 1.3. Prepare MAGENTA screen | 2.3. Using the above underbase print template, prepare a screen for the white undebase | 3.3. Screen print the white ink through the pre-cut paper, the process is shown in the video X1., on top of the CMYK image. You can use a simple screen frame as shown, order it here. |
| 1.4. Dry | 2.4. Screen print the white ink using the above screen on top of the CMYK image | 3.4. Use powder glue to simplify the final process |
| 1.5. Prepare YELLOW screen | 2.5. Dry the print | 3.5. Dry
|
| 1.6. Dry | 2.6. Print the glue on top of the white | |
| 1.7. Prepare BLACK screen | 2.7. Dry and the transfer is ready | |
| 1.8. Dry | ||
| 1.9. Prepare GLUE | ||
| 1.10. Dry | ||
| 1.11. Print CYAN | ||
| 1.12. Dry | ||
| 1.13. Print MAGENTA | ||
| 1.14. Dry | ||
| 1.15. Print YELLOW | ||
| 1.16. Dry | ||
| 1.17. Print BLACK | ||
| 1.18. Dry | ||
| 1.19. Print GLUE | ||
| 1.20. Dry | ||
The same white ink you can use also with pigment DTG inks.
Direct printing onto the textile with water-based pigment inks
In this case, you first print the white base shape, then match the 4-colour directly printing onto it on your T-shirt printer.
*Here, you have to first try if the ink of your direct-to-garment printer is compatible with the white ink base.
What you need to set up a home-based transfer printing business:
Personal computer, design program to prepare the file/s/.
Printing equipment/ supplies:
1. For the colour copy of the artwork
A laser printer, colour
Release transfer paper/ film
For the white screen printing base of the artwork
To cut the shape:
A PVC film cutting plotter
Removable PVC film
Or a laser cutter – for cutting the precise white template
Removable adhesive spray /optional/ – to fix the pre-cut paper onto the CMYK image sheet.
Dimensionally stable media sheets for cutting the template, translucent works best.
To print the white
The screen printing press – starter kit of a simple machine with 2 or 4 frames /for the white ink and the glue, if liquid/
Screen printing ink white
Screen printing glue /liquid or adhesive/
Dryer /optional/
Heat press for hot-fixing the transfer with pressure.
Similarly, for direct printing onto garment:
For the white
Same equipment needed like the one for the transfers, excluding the laser printer.
For the CMYK
A DTG printer/! test if the inks perform well with the white ink base!/.